
DIY First-Aid Kit
How to Build Your Own First-Aid Kit: A Practical Guide for Overlanders, Hikers, and Families
A well-stocked first-aid kit is an essential part of any home, vehicle, or outdoor adventure setup. Whether you’re at home, on the road, or deep in the backcountry, having the right supplies can mean the difference between quickly managing a minor injury and facing a more serious medical situation. As I pursue my Wilderness First Responder certification, I’ve learned the importance of a well-planned kit tailored to specific needs, environments, and activities.
I’ve come to appreciate this firsthand. On a warm spring road ride in China, I was stung by a bee that had flown into my helmet. Thanks to having Benadryl and tweezers in my bikepacking kit, I was able to remove the stinger, treat the swelling, and continue my ride without issue. Another time, our 7-year-old son Ben fell off a horse while descending a rock garden in rural Ethiopia. We were hours from the nearest local clinic and a flight away from any quality medical care. Thankfully, an ice pack was all he needed—but that moment underscored how critical it is to carry a comprehensive first-aid kit, especially when traveling as a family.
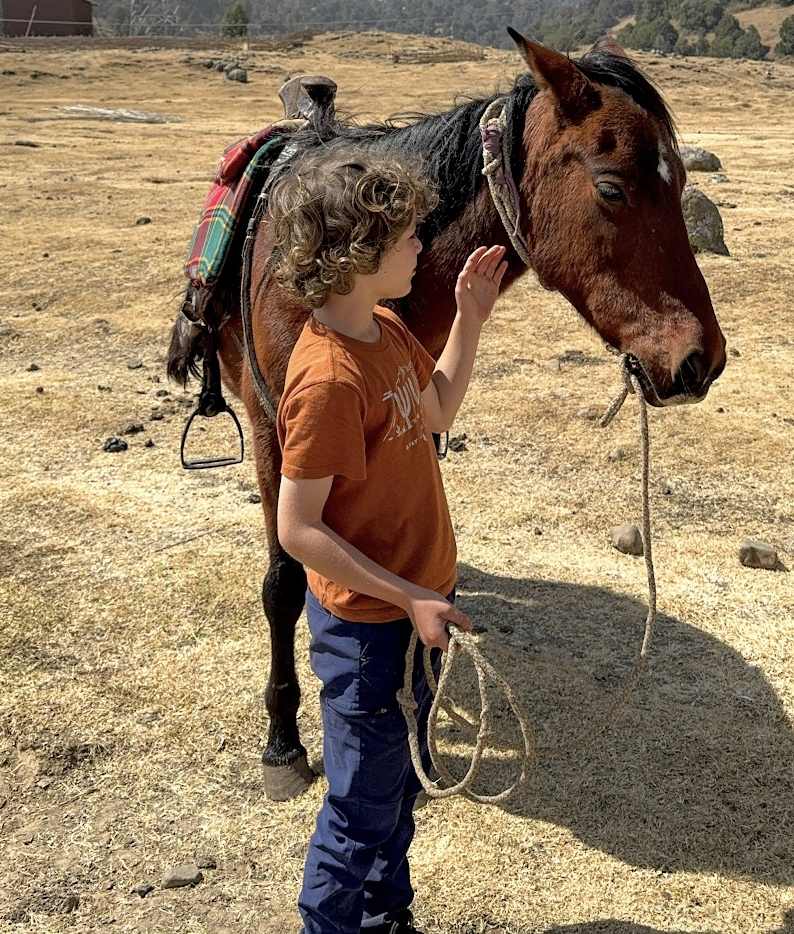
Ben and his Trail Horse: Bale Mountains, Ethiopia
On another overlanding trip through the jungles of Laos, I cut my knuckle while performing trail repairs on our Hilux. Having the ability to clean and dress the wound properly meant we could continue the trip without risking infection. Experiences like these have taught me that a solid first-aid kit isn't just nice to have—it's essential.
Step 1: Stock Up – First-Aid Supplies Checklist for Outdoor Adventures
Many guides suggest choosing a container first, but I’ve found that backward planning—starting with essential supplies—prevents wasted space and ensures you don’t compromise on critical items. You can download a PDF list here.
Top First-Aid Kit Essentials for Outdoor Use:
Wound Care:
Bandages (assorted sizes)
Gauze pads and rolls
Adhesive tape
Antiseptic wipes
Antibiotic ointment
Wound irrigation syringe
Burn cream or gel
Medications:
Pain relievers (ibuprofen, acetaminophen)
Antihistamines (like Benadryl)
Anti-diarrheal tablets
Motion sickness pills
Electrolyte packets or tablets
Tools & Equipment:
Scissors
Tweezers
Thermometer
CPR mask
Nitrile gloves
Emergency blanket
Chemical cold packs
Specialty Items:
Tourniquet
Hemostatic agent (e.g., QuikClot)
Splints and finger splints
Eye wash
Sunscreen and lip balm
Insect repellent
Water purification tablets
Personalized Needs:
Prescription medications
EpiPen or inhaler
Insulin or diabetic supplies
Pediatric-specific items for kids
Emergency Information:
Emergency contacts
Medical history and allergy info
Doctor/pediatrician contact info
Whether you're building a DIY first-aid kit for backpacking or customizing an overland kit for family road trips, the key is to pack for your unique risks.
Step 2: First-Aid Kit Bags & Containers for Overlanding and Hiking
Once you know what you need, choose a container that fits your activity and space. Here are the containers I personally use:
Home Kit: A soft-shelled tackle box with multiple compartments for easy access.
Overland Kit: A hard-sided, waterproof case that stays secured in our vehicle.
Bikepacking Kit: A compact, lightweight pouch for portability on the trail. Bonus if it’s transparent.
Key Features to Look For:
Durable and water-resistant or waterproof
Easy to open in an emergency
Organized layout with compartments or labels
Appropriately sized for your gear and environment
Avoid locking your kit. In emergencies, quick access matters. If kids are in the household, store the kit out of reach rather than restricting access with a lock.

Step 3: How to Organize Your First-Aid Kit by Activity Type
Having supplies is one thing; finding them quickly when it counts is another. Organization is crucial. I use clear zippered pouches to separate categories:
Wound Care: Bandages, gauze, antiseptics
Medications: Pain relievers, allergy meds, prescriptions
Tools & Equipment: Tweezers, gloves, scissors, CPR mask
Outdoor-Specific: Sunscreen, insect repellent, electrolytes, water purification
Make sure to check your kit regularly for expired items and replenish anything used. Consider keeping a basic first-aid guide or digital reference saved on your phone.
Step 4: First-Aid Kit Maintenance and Training Tips
The best first-aid kit is the one you know how to use. Take a CPR and First-Aid course—the American Red Cross offers many options. If you travel to remote areas, consider advanced training like the Wilderness First Responder certification. It goes beyond basics to prepare you for backcountry emergencies when help may be hours or even days away.
Here are a few helpful resources to build your knowledge and confidence:
NOLS Wilderness Medicine: Courses from basic first aid to Wilderness EMT. Ideal for outdoor travelers.
Stop the Bleed: A free national training program teaching trauma response and bleeding control.
American Red Cross First Aid App: A free mobile resource with step-by-step guides for emergencies.
For families, consider:
Practicing first-aid scenarios with your kids (e.g., cleaning a scrape or applying a bandage)
Keeping a child-specific kit in your vehicle or daypack
Talking about how and when to call for help while adventuring
Have a plan. If you or another adult are unresponsive, what should the kids plan for?
Final Takeaways
Build your kit based on your activities and likely risks
Choose a durable, water-resistant container with quick access
Organize items clearly and logically
Regularly restock and check for expired gear
Get trained—knowledge is your most important tool
A first-aid kit isn’t a replacement for professional medical care, but it is your first line of defense when adventure gets real. Whether you’re riding remote trails, road-tripping with your family, or hiking deep into the backcountry, being prepared means peace of mind.
What’s in your essential kit? Share your must-have items in the comments or tag us on Instagram @SideQuestOverland. Let’s learn from each other and keep exploring safely.